Jose Agustin Andreu
STUDENTS' WORK
2 Dimensional Design
Blend & Combine Contrast
Click Image for Manual Slides
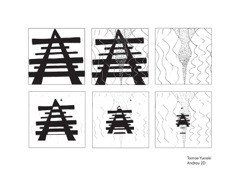
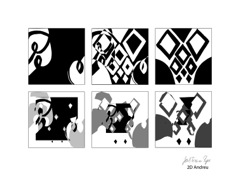
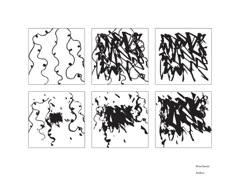
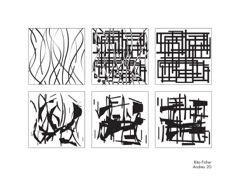
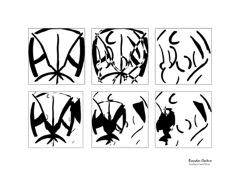
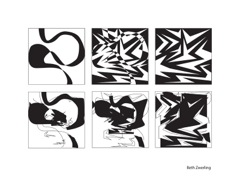
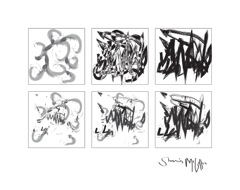
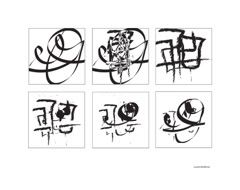
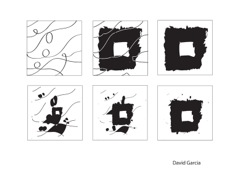
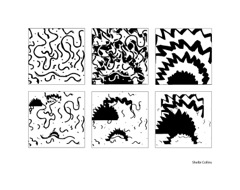
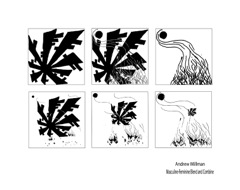
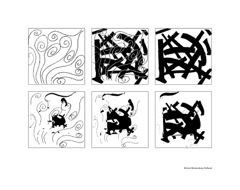
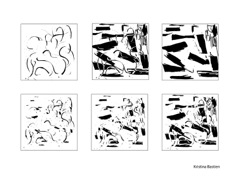
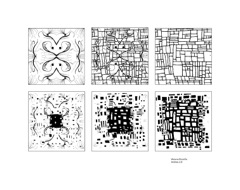
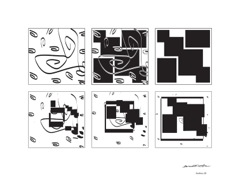
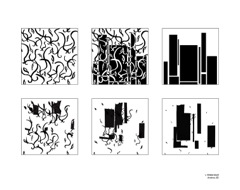
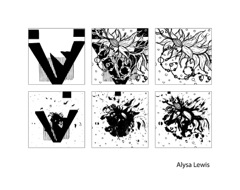
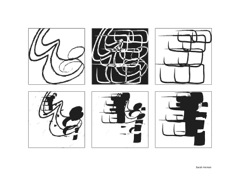
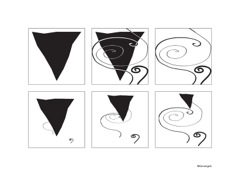
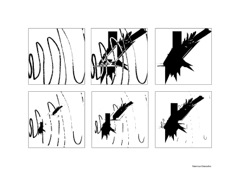
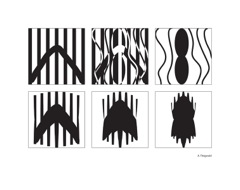
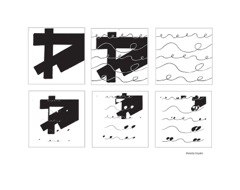
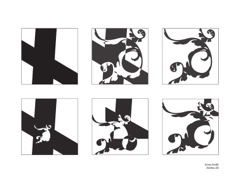
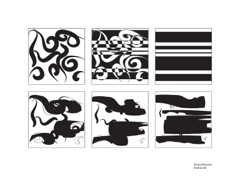
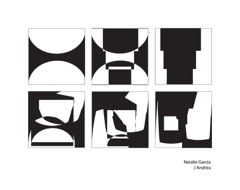
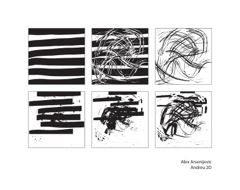
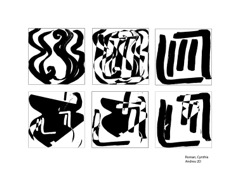
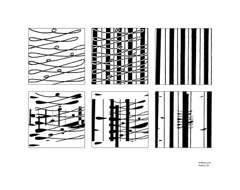
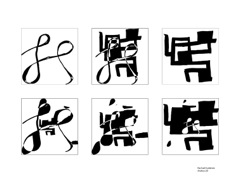
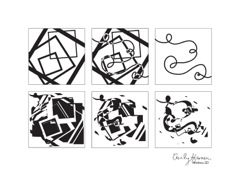
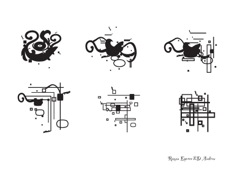
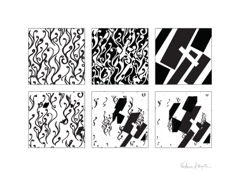
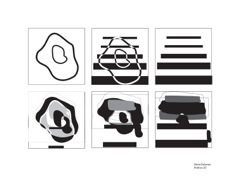
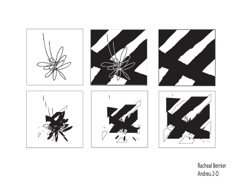
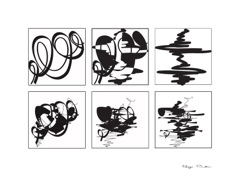
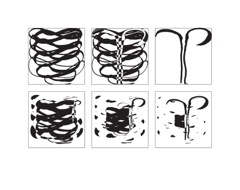
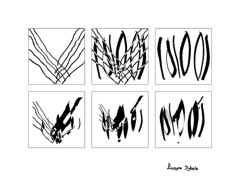
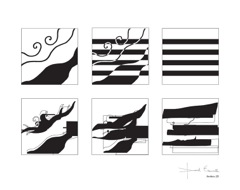
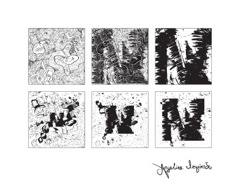
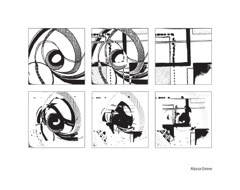
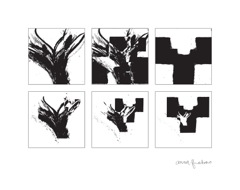
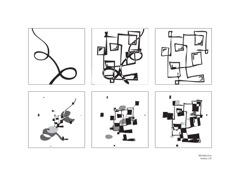
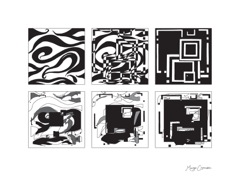
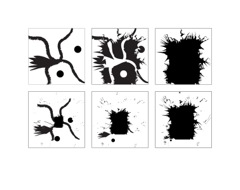
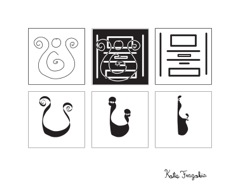
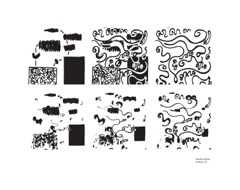
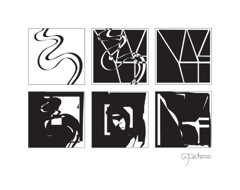
The Blend Femininity and Masculinity exercise has six panels mounted in two rows.
The three panels in the top row have the Femininity and Masculinity 4" x 4" designs at left and right and the combined design in between. You combine the two designs by overlapping and interpenetrating the forms so that both forms are fully visible. The three panels in the bottom row show the use of the Blend tool.
To prepare, open and select the Femininity and Masculinity Abstract Analogous designs. Go to File and Place the images or Drag a copy of the images into the new document or Select and Copy then select the new document and Paste. If you haven't already, Vectorize each design. Select each design at a time and go to Live Trace on the control bar or go to Object > Live Trace > Make. Move the Threshold Slider on the control bar until the desire result is achieved. You can also access the Threshold Slider in the Tracings Options Dialogue. Once the optimum balance between black and white is achieved select Expand or go to Object > Expand.
Once both designs are vectorized, Drag Copy a second version of each of the design squares so as to work on a copy and keep the first in reserve just in case problems arise.
Combine
To combine the designs, both objects need to have the same fill. To accomplish this, Drag Select both designs to be combined and lock any other objects on the document by clicking on their lock in the layers palette or select the Isolation button to isolate the two designs. Direct Select one of the black filled shapes in one of the designs and go to Select > Same > Fill. This will select all the black fills in the objects. Once selected go to Select > Inverse and this will inverse the selection to all the rest. Delete or go to Edit > Clear to delete all the non-black fills in the object. This will leave only the black fills. If necessary, repeat the procedure with the second design. Both designs to be combined need to be of one similar Fill.
After both designs have been processed, overlap them. You can drag one over the other or use the Align tools. Go to Window > Align, if the align window is not open. Usually it's nested with the pathfinder tools. Select both designs and click on the Vertical Align Center tool and then the Horizontal Align Center tool.
With both overlapping designs still selected, go to the pathfinder window. In the Shape Modes select Exclude. Drag the resulting object to the top row in between the Femininity and Masculinity designs.
Blend
The three panels in the bottom row are to show the use of the Blend tool. To prepare resources for use with the Blend tool, select the vectorized Femininity and Masculinity designs and click Merge on the Pathfinder.
To create the intermediate panels place the copies of the 4 x 4 Femininity and Masculinity panels
15 inches apart and select the Blend tool. Click on the first object and then on the second.
Double click on the Blend tool and on the dialogue window that comes up set the blend to work with fills and strokes. Make sure you have the object and pattern option selected, not the color, and chose three as the number of steps between.
Once the objects are created you need to Expand the blend to break the spine and access the individual steps. Chose Direct Select tool and drag select over the different objects individually. Since you already have the original Femininity and Masculinity in the top row, you only have to place in sequence the three intermediate steps at the bottom.
